I love making chicken stock! Using a large stock pot, it is so easy and so comforting to make, and I will try to add as many good tips as I can. It is also a great way to make use of leftover vegetables and pantry staples after a chicken dinner (which, as my family will confirm, I love!)! Mangia!
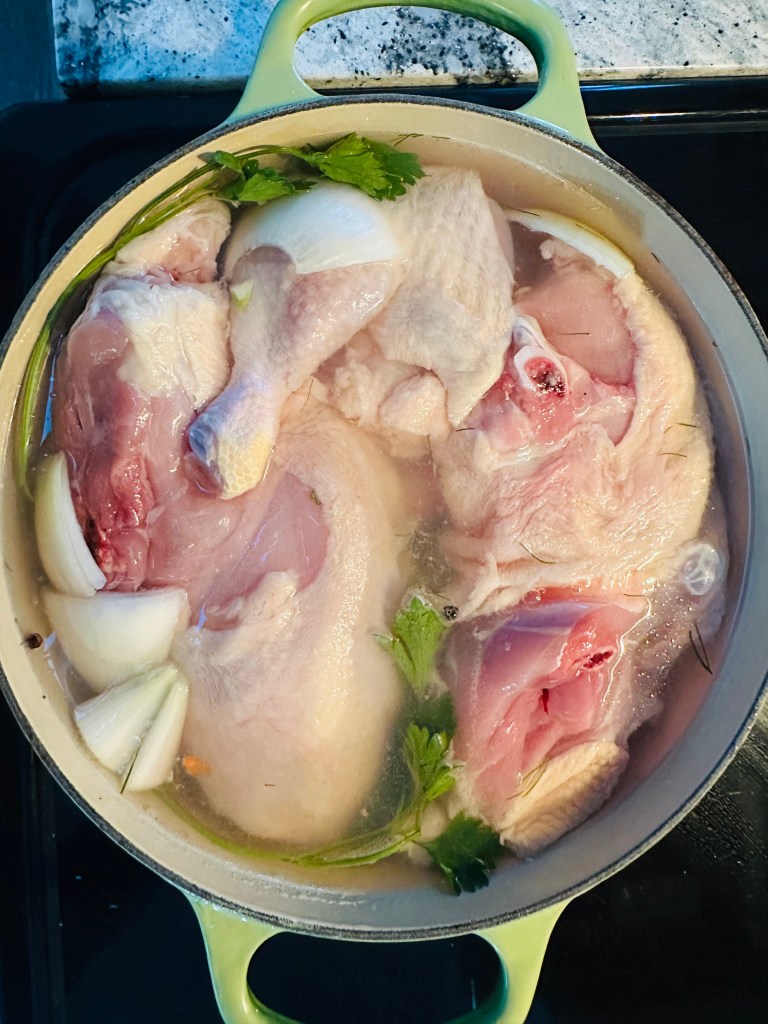
Any good stock begins, not with a bouillon cube, but chicken and its bones.
Alternatively, as my family enjoys rotisserie chickens commonly available in our nearby local markets, after its carving during one of our family dinners, I look forward to reserving the bones for a hearty chicken stock! This recipe lends to anyone opting to roast chicken from their own kitchens or boil a chicken or its parts in its raw form, which, either way, is comforting and delicious (just make sure to remove the chicken giblets)!
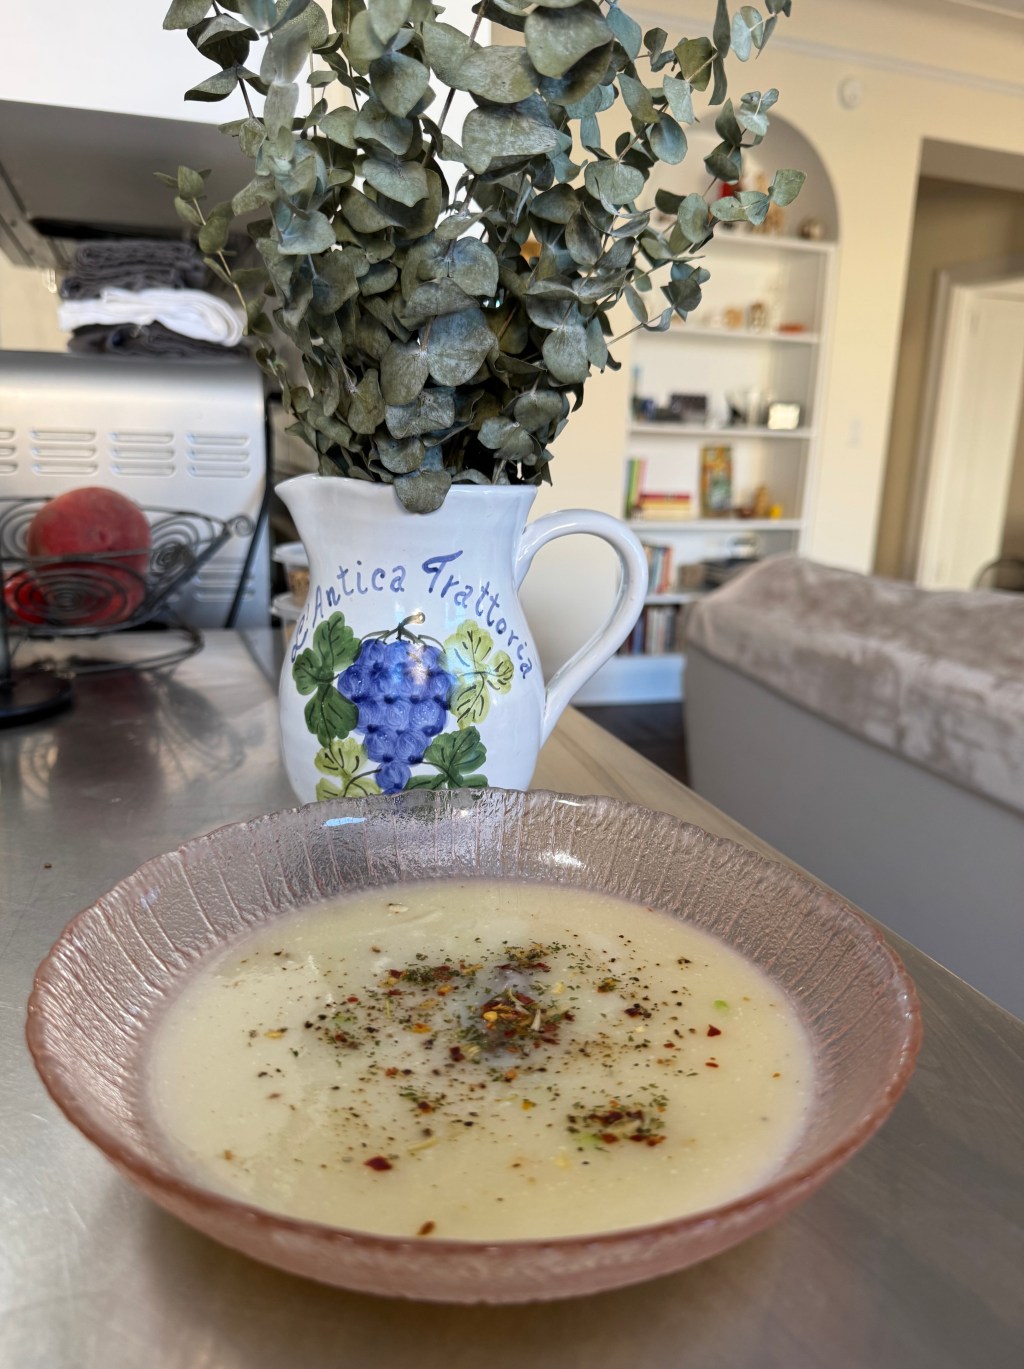
To make, I check my refrigerator for any unused vegetables or fresh herbs, add seasonings from my spice cupboard, and look forward to freezing extra chicken stock for use in future dishes. Chicken stock is versatile and provides balance to recipes, and because it is homemade, its sodium content is controlled versus the store brands generally available in the supermarkets, although some brands are tastier and better for you than others (my family tends to gravitate to organic, low sodium brands, if available).
Note: I’ve been asked the difference between Chicken Stock versus Chicken Broth. I’d like to explain the difference. Chicken broth is generally made from the meaty parts of the chicken, while chicken stock is made from simmering the bones for a long period of time, which results in more depth of flavor (and so offers a lighter flavor and tastes more like a consomme).
Tip: Start your chicken stock early in your day, as after it is fully simmered, you should leave sufficient time for it to cool and then refrigerate or freeze, depending upon your plan for future use.
Ingredients
- Chicken bones of 1-2 small chickens (or 1 larger chicken (tip: no skin – skin adds an unnecessary amount of fat – believe me…I’ve tried!)
- 2-3 garlic cloves, halved
- 1 large yellow onion, chopped
- 2 carrots, thickly sliced
- 2 stalks of celery, thickly sliced (tip: no leaves, but reserve leaves for a tasty addition to tuna salad!)
- if available, 1 leek, thickly sliced
- 1 large slice or wedge of a fresh lemon
- tip: if available, a tbsp of tomato paste can be used for an umami flavor (note: if fresh tomatoes are in your refrigerator, feel free to use, coarsely chopped and very lightly salted; depending upon the type of tomato, I recommend the measured equivalent of a beefsteak tomato)
- 2 large bay leaves
- 1 tbsp olive oil (note: the olive oil may be used in 2 different ways (and this is why I love making chicken stock (there is no wrong way to make chicken stock!)): 1. to begin the stock by drizzling into the bottom of the pot to saute the onions, carrots, celery and leeks (note: I would not saute the garlic), or 2. to be added to the pot, together with all the ingredients at the same time (see below).
- Seasonings (note: fresh seasonings are preferred, but when unavailable, this is a good opportunity to scour your supply of spices!):
- 1 tsp dried thyme (or 3 sprigs of fresh thyme)
- 1 tsp dried oregano (or 2 sprigs of fresh oregano)
- 1 tsp dried parsley (or 2 sprigs of fresh parsley)
- tip: if fresh sage is available, 2 sprigs are tasty to add as well (dried sage can be a little too strong)!
- 6-ish peppercorns
- kosher salt to taste
- ground black pepper to taste
- pinch of crushed red pepper
Instructions
- First Step: If you have cheese cloth available, tie all of the seasonings into a cheesecloth with twine, or if you don’t, just measure the seasonings, and regardless, set aside (for Third Step, see below).
- Second Step: If you opt to saute the onions, carrots, celery and leeks, drizzle the olive oil into the pot over medium heat and, once warm, add the vegetables, being careful to allow them to soften without browning. If you opt not to saute, simply place the vegetables into the pot and add the olive oil.
- Third Step: Regardless of your preference on the Second Step, place all of the ingredients in the pot (with the seasonings (prepared in First Step, see above)). Fill the pot with cold water, turn the heat to high and bring to a boil, covered.
- Fourth Step: Once boiling, adjust the heat to a gentle rolling simmer, slightly uncovered. Spoon off and discard foam that rises to the surface.
- Fifth Step: Continue to simmer the stock, slightly covered, for 2-3 hours. As the stock reduces (and it will reduce), if time permits, add more water and begin the boil/simmer process again, for 1 more hour.
- Sixth Step: Cool to room temperature (any chicken fat that may have remained on the bones or attached to the vegetables during the cooking process will rise to the surface and congeal, and you can skim off and discard). Once cooled, strain broth through a fine-meshed colander into another large pot. Discard contents in colander. Separate stock into containers to refrigerate for future use or freeze for later use.
Buon Appetito!


Leave a comment